Flow Filters
The flow filters page lists the frame filters that are going to be used to determine which frames to extract:
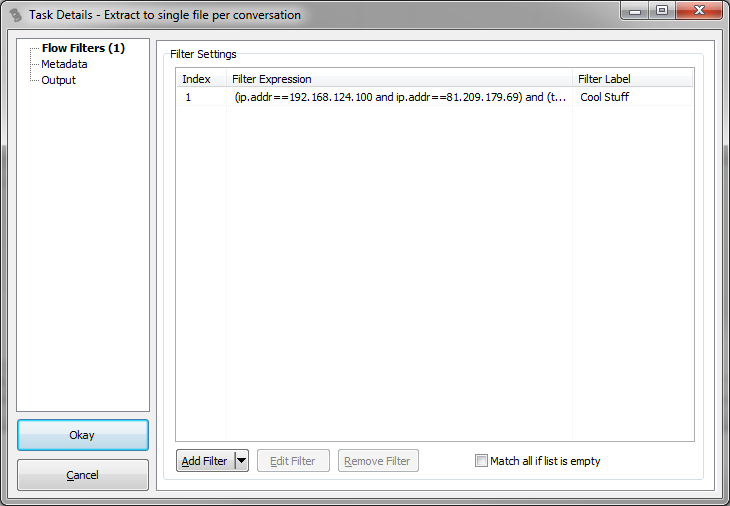
Filter Expression: The filters are displayed in Wireshark display filter syntax, but this is only to make them easy to read for experienced Wireshark/tshark users. TraceWrangler itself only has a very limited filter engine and uses a special filter edit dialog to manually add and modify filters.
Filter Label: the filter label is an arbitrary text that can be added to a filter. The minor use case is to be able to add a small note to a filter, but the much more interesting thing is that the filter label can be used as a place holder in the output filename. This allows creating files or folders containing the filter label as part of the path and/or filename.
Match all if list is empty: usually unchecked, this will change the default behavior from not exporting anything that doesn't match a filter to exporting everything if there is no filter. Unless you really want to export everything you should not check this box.
Add Filter: the "Add Filter" button is used to either open the filter editor for manually editing and adding a filter. It can also be used to open a popup menu which allows looking up conversations and create filters for them. Additionally, a couple of special file types can be imported to create filters from. If you select to import filters from a file, a dialog will be shown to allow you to select a file:
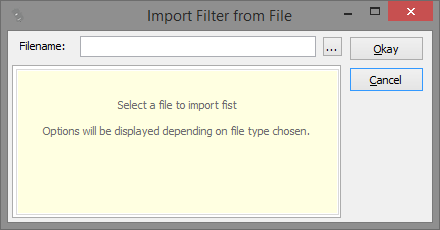
Enter a file name or select it via the "..." button. There are two types of files you can import filters from: a "beacon" file, and a "Snort alert" file. A beacon file is basically just a capture file containing network packets, so the usual four file formats apply: PCAPng, PCAP, ENC and CAP. Each packet or frame in such a file will be analyzed and a flow filter created from it. If you select a capture file you'll see the following options:
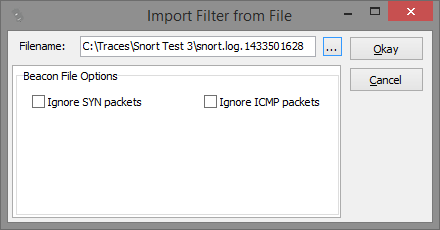
In case of Snort filter matches you may not be interested in hits on SYN packets (e.g. "Someone tried to access port 22 on IP 10.0.0.1", and you know it's firewalled anyway). Same goes for ICMP, because it may just not be of any interest to you.
If you select a snort alert file, you'll see these options:
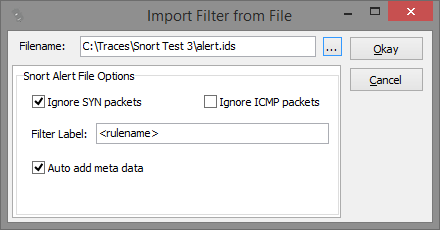
Again, you can choose to ignore SYN and ICMP packets. SYN packets are ignored by default here, because Snort alerts on those are just too annoying in most cases. Uncheck the option if you still want to extract those. The more interesting options are the filter label and the ability to automatically add meta data records.
Filter Label: If you choose to set a filter label, each filter generated from the alert file will have a label that contains the Snort rule name, classification or SID. Simply enter "<rulename>", "<classification>" or "<sid>" as placeholders, or any combination. Filter labels can then be used to generate an output file name for each extracted flow, e.g. if you want to use the Snort rule name as part of each filename, add "<rulesname>" to the filter label string.
Auto add meta data: if this option is checked, each Snort alert will be added to the meta data list. This list can be used to write comments into extracted packets, and the most common case is to use the meta data enhancement feature to add a comment to each frame where a Snort signature actually matched. That way you know which packet it really was that got hit.